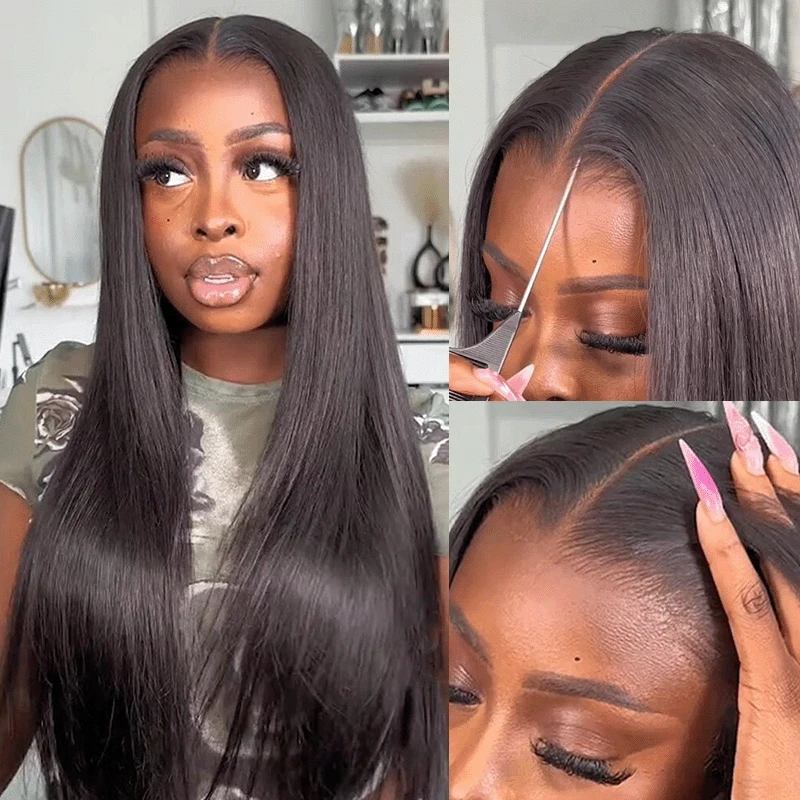
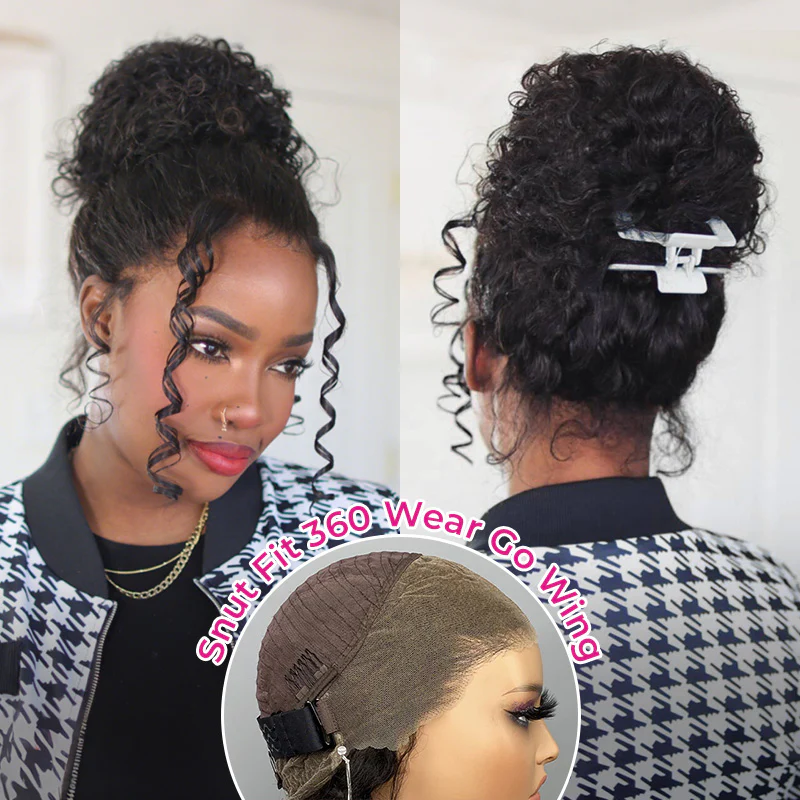
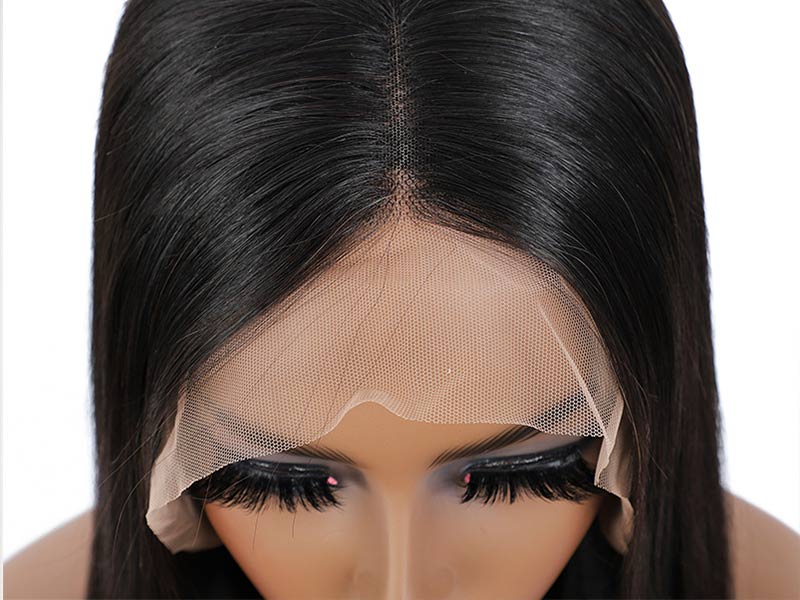
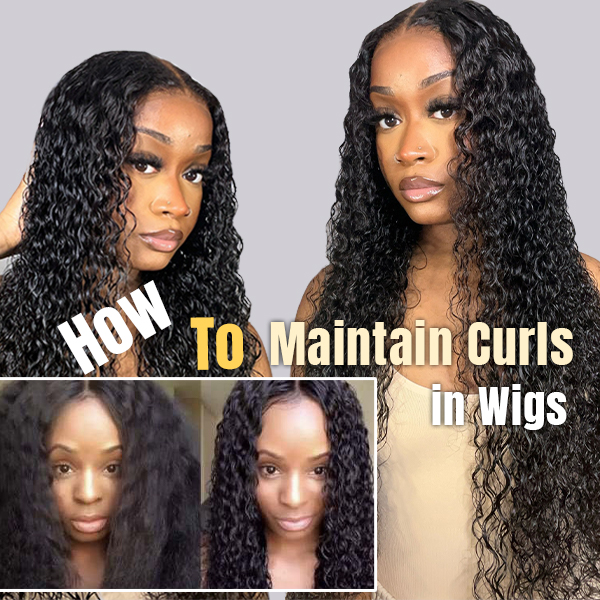
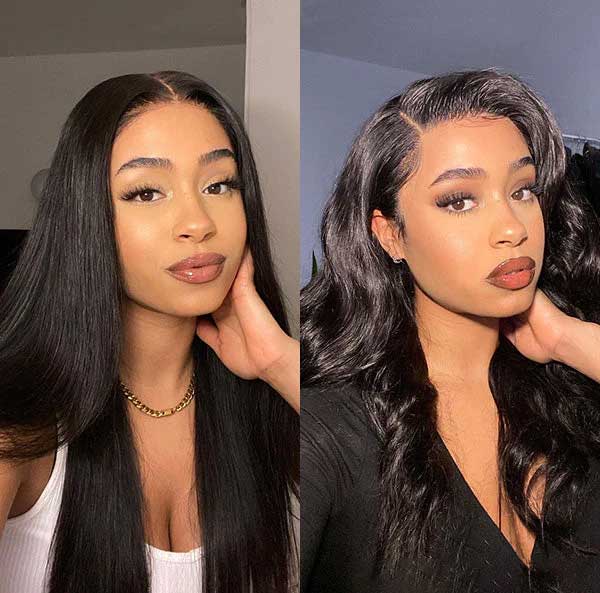
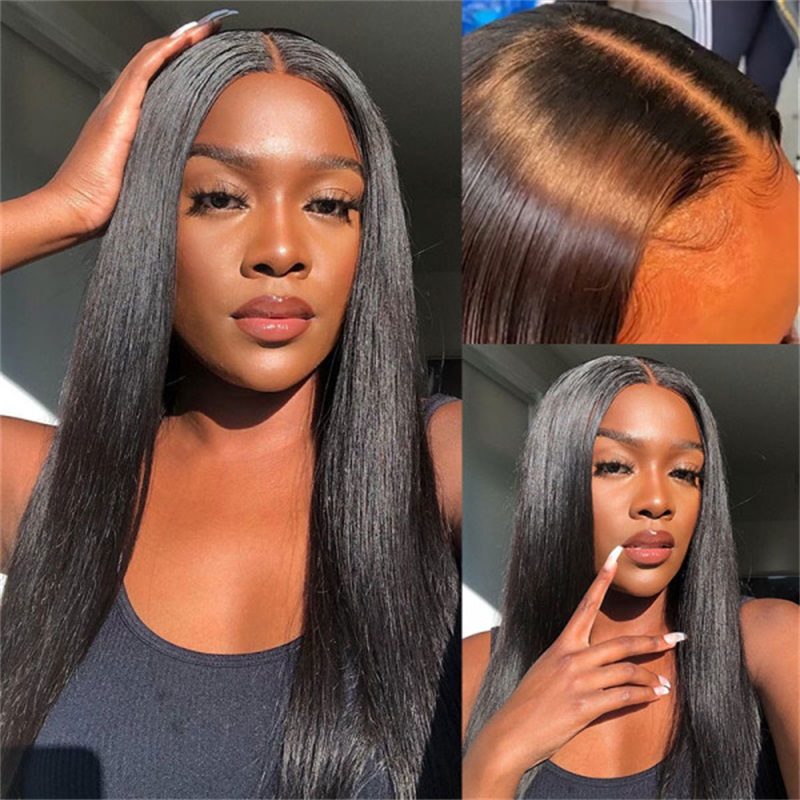
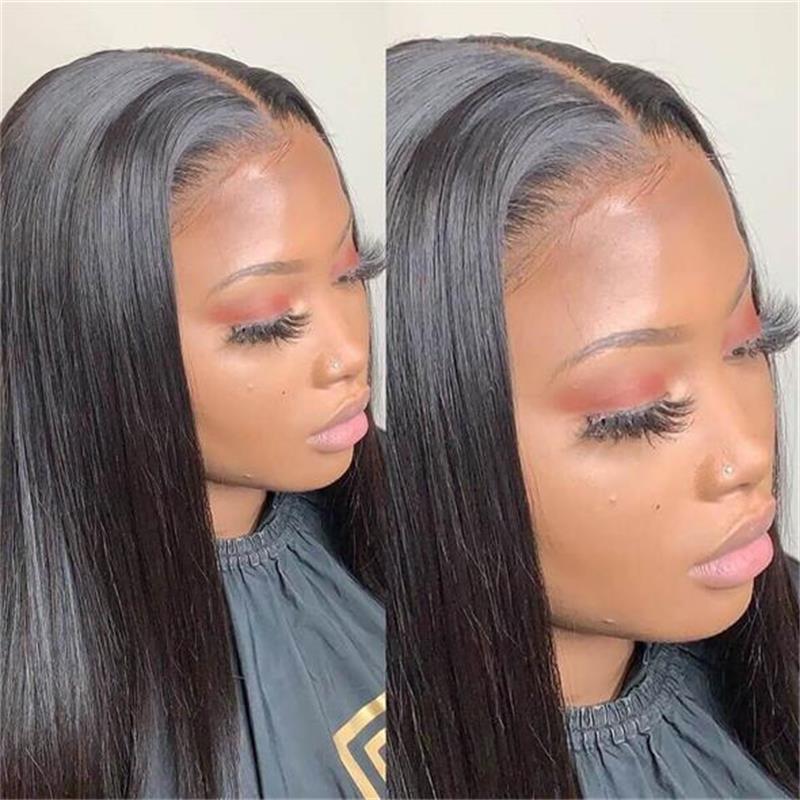
HD lace is renowned for its flawless and undetectable 'skin melt' appearance. However, achieving seamless integration and the illusion of hair growing directly from the scalp in the hairline area is only possible with correct application. So in today’s blog, let’s learn about how to install a HD lace wig properly, helping you create the impression that not wearing a wig.

How To Install a HD Lace Wig-a Comprehensive Guide
-Keep Your Scalp And Hair Is Clean-
This initial step is crucial. Installing an HD lace wig is not a simple task. We aim for wig to stay on the head for an extended period, avoiding the need to remove it due to scalp itching or hair becoming oily.
Moreover, scratching the scalp can result in wig shedding. Thus, ensuring to wash and condition your natural hair ahead of time significantly reduces potential discomfort, prolongs the wig installation lifespan, and contributes to the wig staying in place for an extended duration. Therefore, maintaining a clean scalp and natural hair helps to extend the duration of the installation.
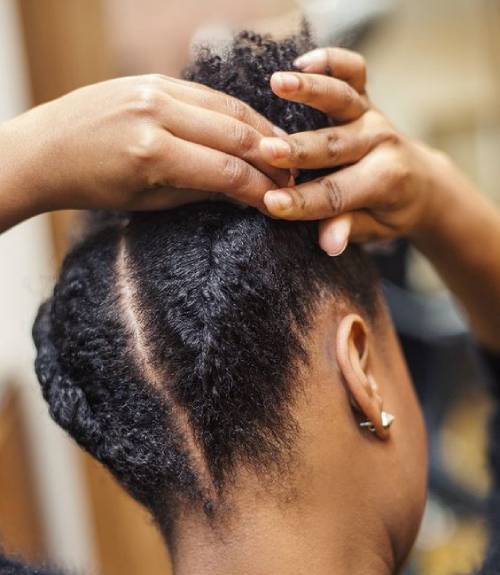
-Make Sure Natural Hair Is Flat-
This is a necessary step whether it is a lace front wig or a glueless lace wig that is easy to put on and take off, because maintaining your natural hair flat allows for a natural appearance without any unevenness or bumps when wearing the wig cap.
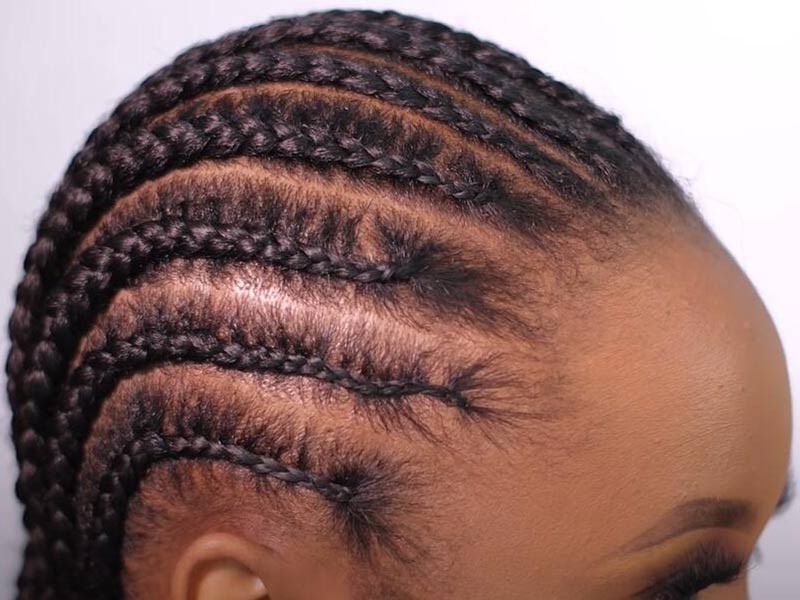
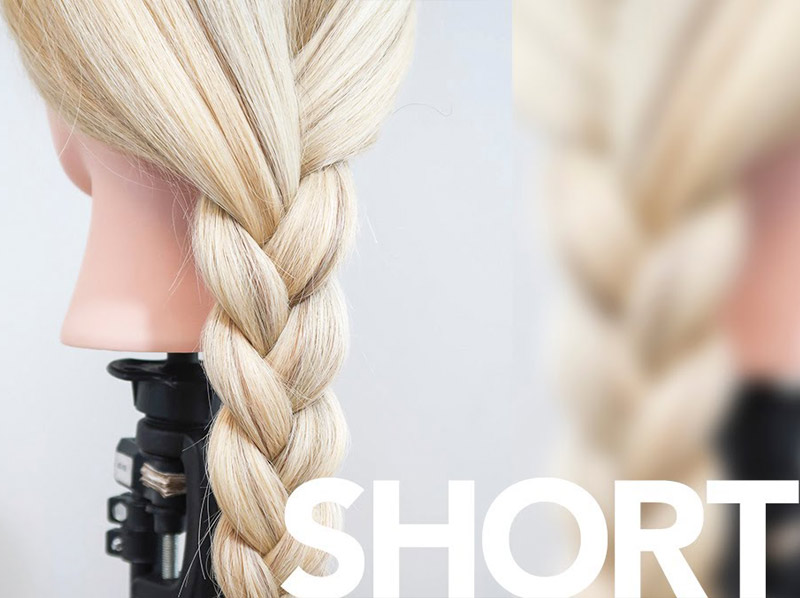
If your hair is longer, you can braid and wrap, if it's shorter, you may use hairpins to secure it, or braid it into cornrows to ensure a smooth base for the flawless HD lace wig wearing.
We have written another blog on how to hide hair under a wig cap, if you are interested, shift your eye on this article, which covers several common ways to prep your natural hair in great detail.
-Wipe Your Hairline-
The skin in the hairline area produces natural oils, sweat, or residues from hair and skin care products. These substances can interfere with the adhesive used for securing the wig, affecting its adherence and longevity. Therefor, we need to clean up the hairline area in advance. On a clean surface, adhesive will bond better.
For sensitive skin, you can use warm water or a mild and gentle cleanser to clean your hairline. It’s advisable to dampen a cotton pad or soft cloth with water or the gentle cleanser to wipe along the hairline.
-Put On a Wig Cap-
Don't overlook this step, wearing a wig cap has several benefits.
A wig cap helps to keep your natural hair flat and compact, providing a smooth base for the wig. It prevents bumps or lumps that might affect the wig's appearance. And it also acts as a protective barrier between your natural hair and the wig, preventing sweats and oils build up inside the wig, reducing friction between hair and wig during activities.
What’s more, it helps in holding the wig firmly, preventing slippage or movement during wear. For individuals with longer hair, a wig cap helps to contain and hide the hair, preventing it from poking out beneath the wig.
-Melted Lace Front Wig-
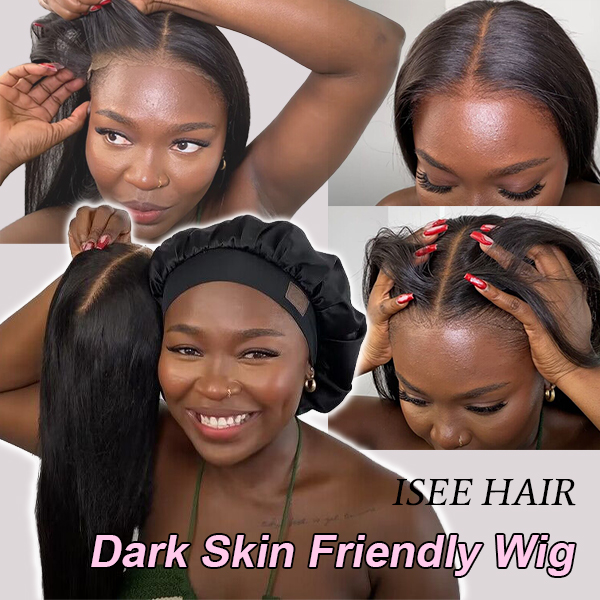
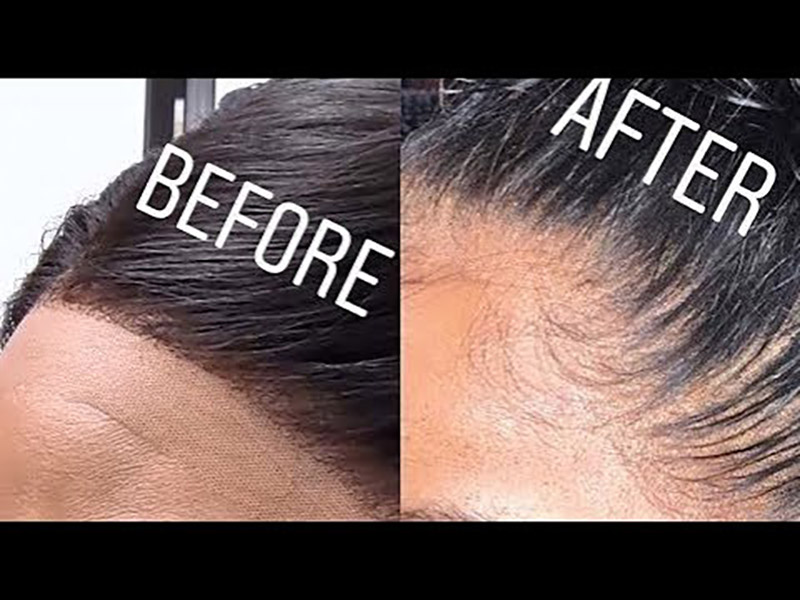
For a flawless lace wig install, even for HD lace, which is exceptionally fine and transparent, we still recommend applying some foundation to help the HD lace match your skin tone better and easier. By adding this step, you could achieve a seamless transition between the lace and your skin, reducing the visibility of the lace grid and making the wig look more natural.
The foundation or concealer you use need to match your skin tone!!
-Put On Your HD Lace Wig-
It’s time to place your HD wig on your head.
Tilt your head slightly forward, and put on the HD lace wig from front to back. Align the wig's hairline area with your own natural hairline. Looking in the mirror, adjust the position of the wig until you feel comfortable and looks natural.
-Removing Extra Lace-
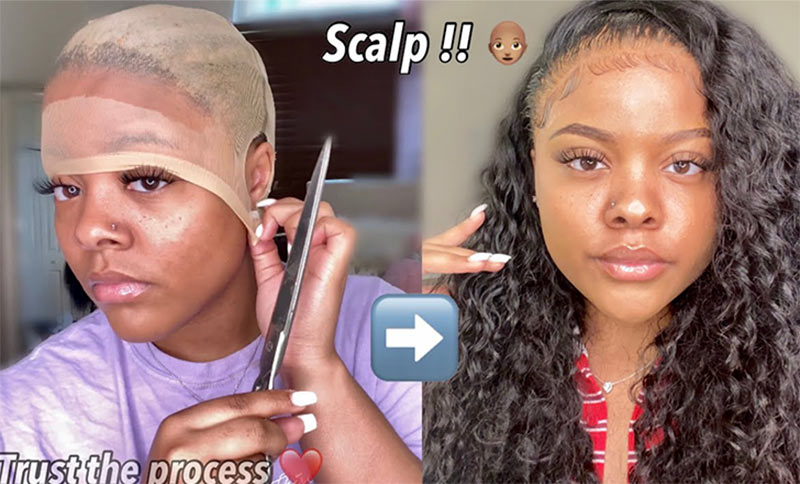
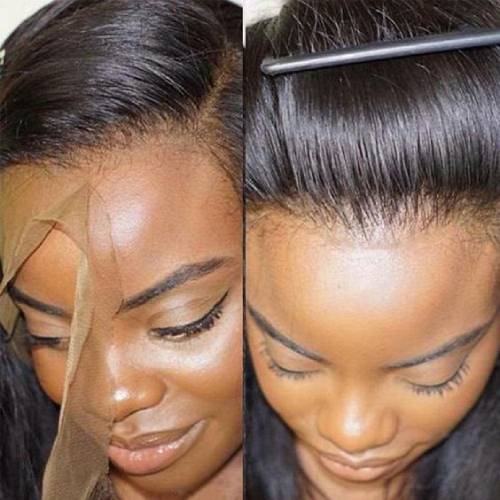
The HD lace wig doesn’t comes in pre-cut lace, so you need to trim the excess lace along the hairline. Trimming lace properly can make the wig look flawless and natural, but the wrong trim can ruin a wig. It's crucial to proceed with care, patience and practice to avoid damaging the wig.
Trim the lace close to the hairline in small sections. Avoid cutting too close to the hairline, leave a small amount of lace beyond the hairline for a natural appearance.
Check here to learn about how to cut the lace on a lace front wig-step by step detailed guide.
-Secure The Wig-
Securing a lace front wig need to use adhesive, as for types of wig, select a high-quality adhesive designed specifically for lace front wigs installing, such as wig glue, adhesive tapes, or wig bonding glue.
Apply a small amount of adhesive along the hairline, directly on your skin. Note that the amount of adhesive is thin and even to avoid excess buildup.
Let the adhesive sit for a short period time on your forehead, check the instructions for specific times, making the glue sticky enough.
Then gently press the wig onto the adhesive, beginning from the center and moving towards the sides. Bubbles are not allowed between skin and the front lace. When the glue is completely dry, your HD lace wig is installed securely. 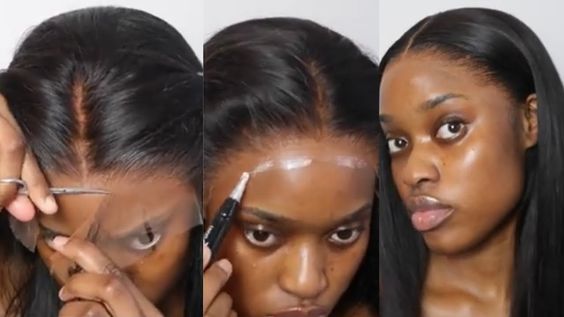
-Style Your HD Lace Wig-
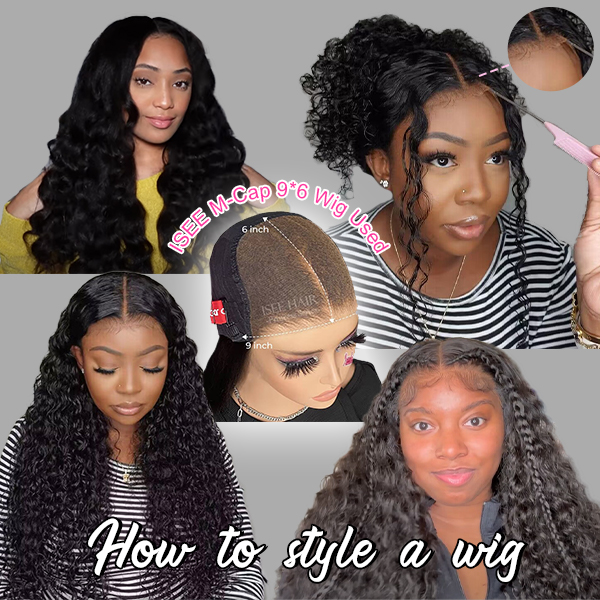
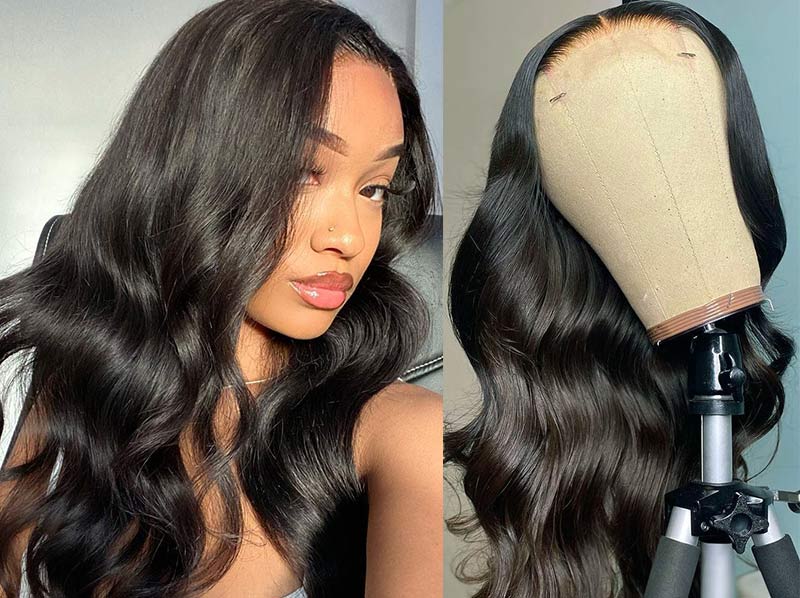
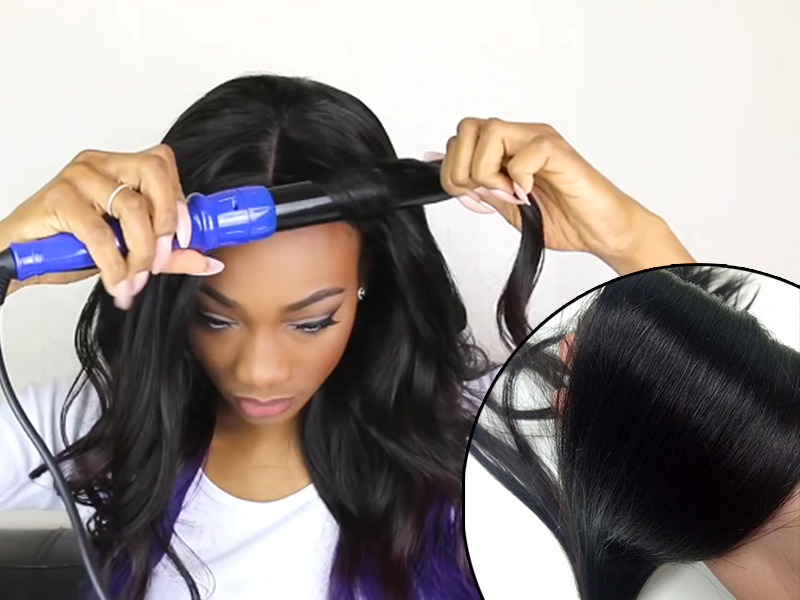
You can style your wig as desired, parting it in the middle or on the side, and create cute baby hairs along the hairline according to your preference. For human hair HD lace front wig, you can use heat styling tools to create curls or straighten to achieve polished and sleek hairstyle.
In Conclusion
Finally, don’t forget the importance of daily maintenance and care for your human hair HD lace wig. After each removing your wig, make it a routine to wash and condition it, ensuring it stays in optimal condition for the next install. After all, the natural appearance of a wig is also related to its condition.
You might want to check these posts:
Melted Hairline Wigs: Achieving a Flawless Natural Look
Swiss Lace Vs. Hd Lace Vs. Transparent Lace

ISEE Pre Bleached Knots Body Wave Human Hair Wig Invisible HD Lace Front Wig
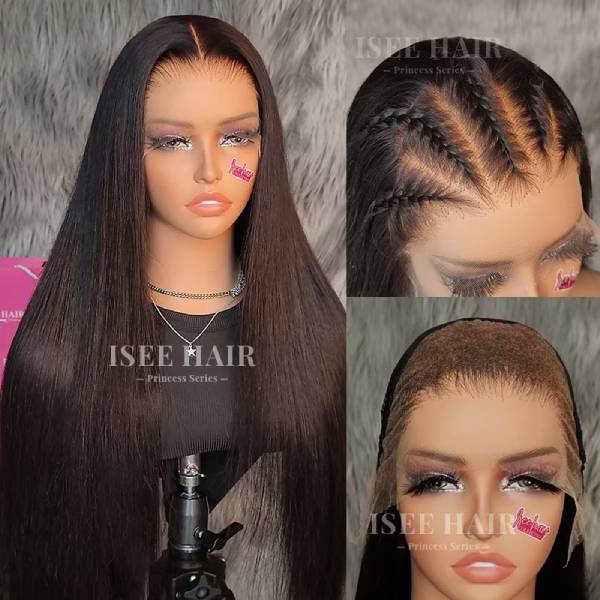
ISEE Pre Bleached Knots Silky Straight Human Hair Wig Invisible HD Lace Front Wig


