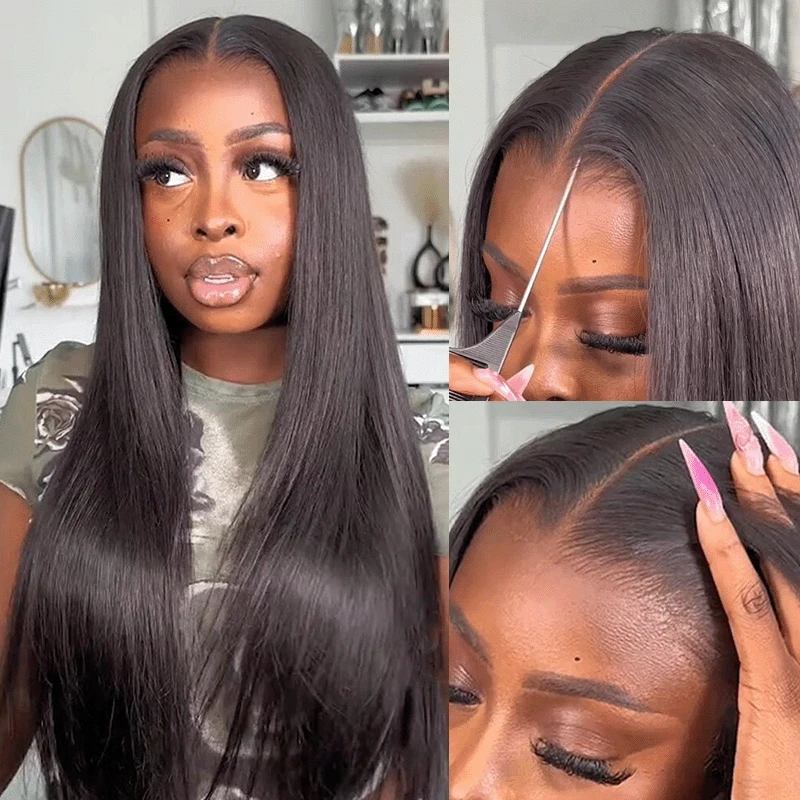
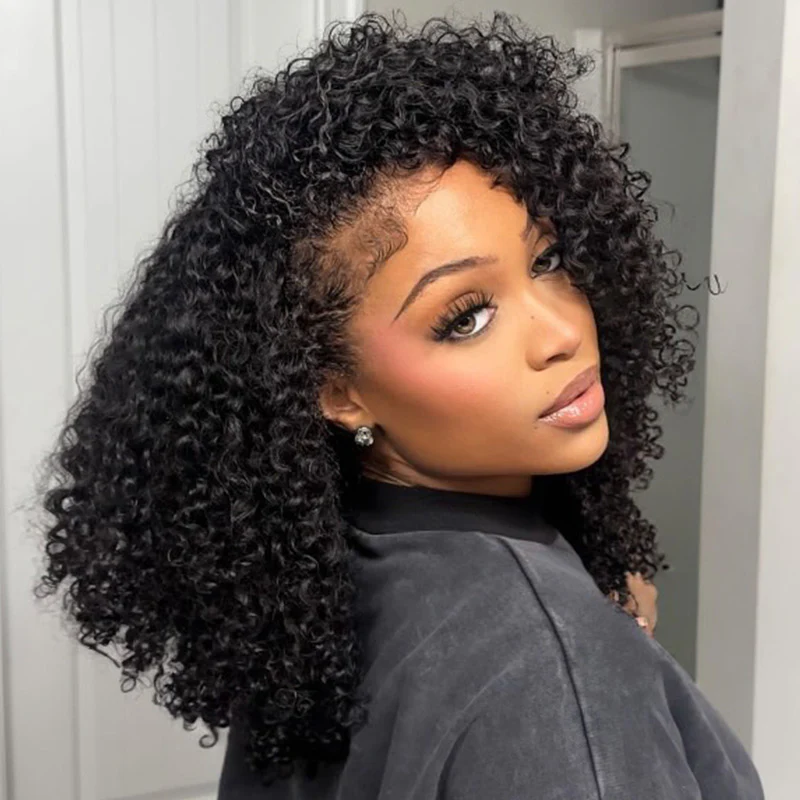
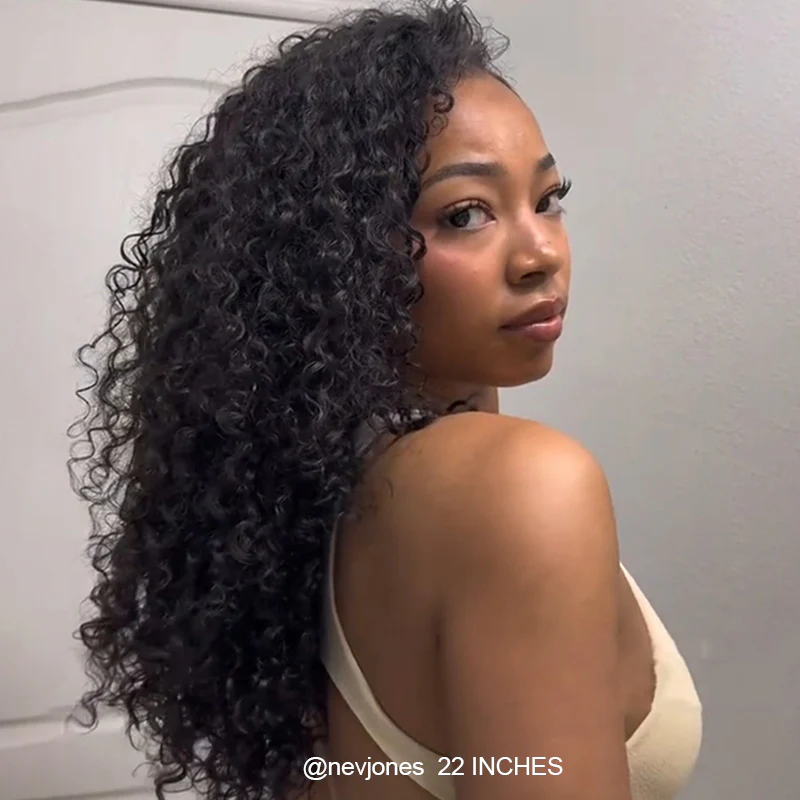
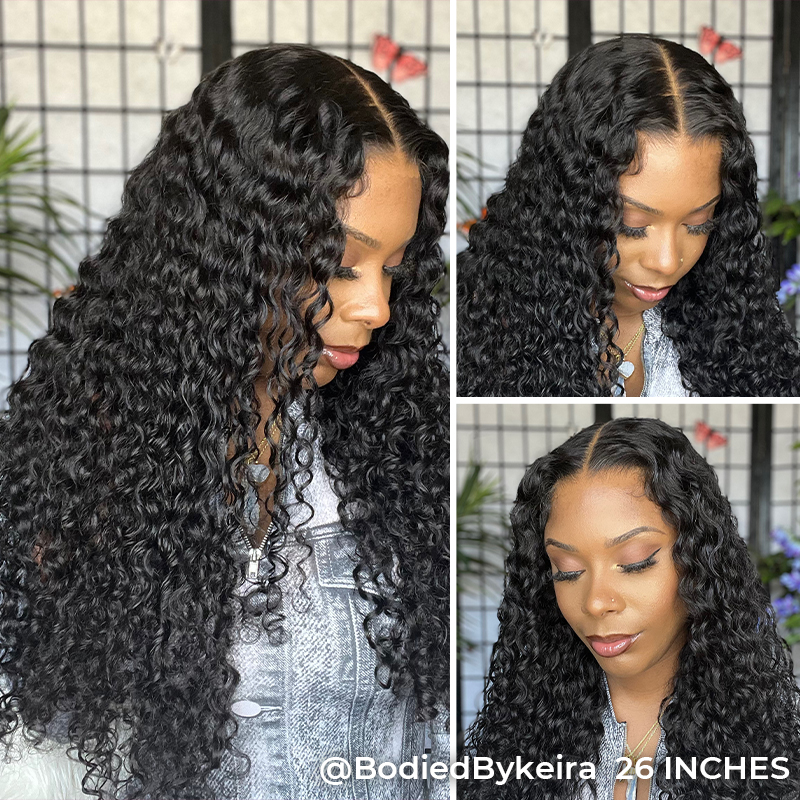
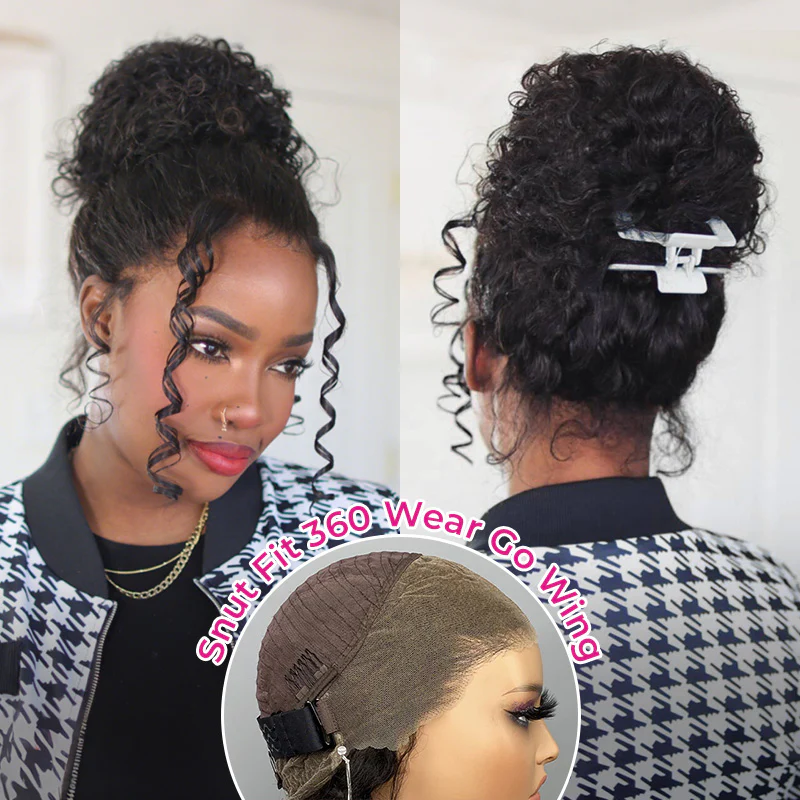
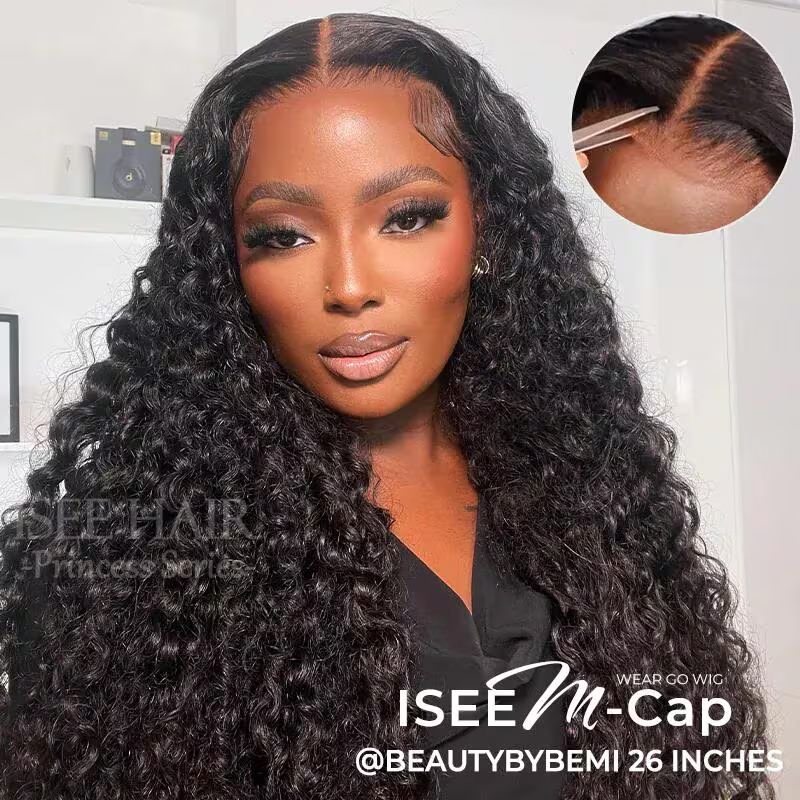
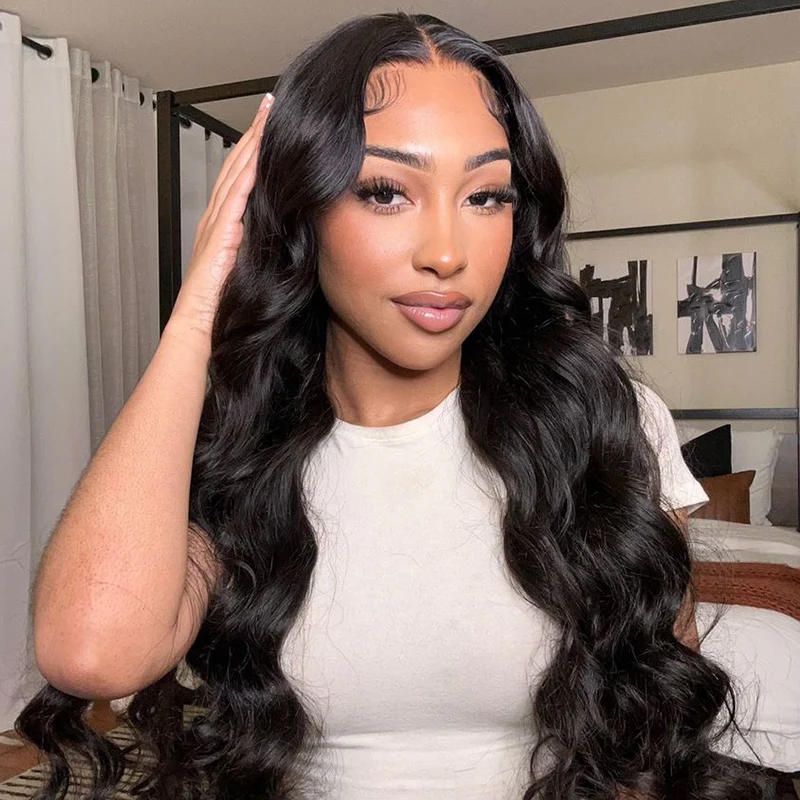
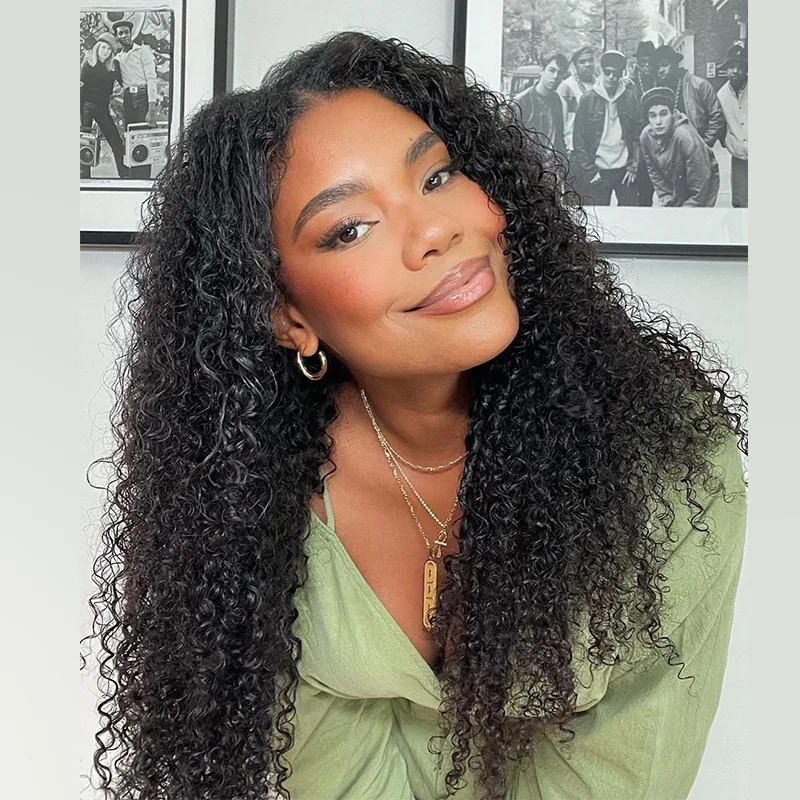
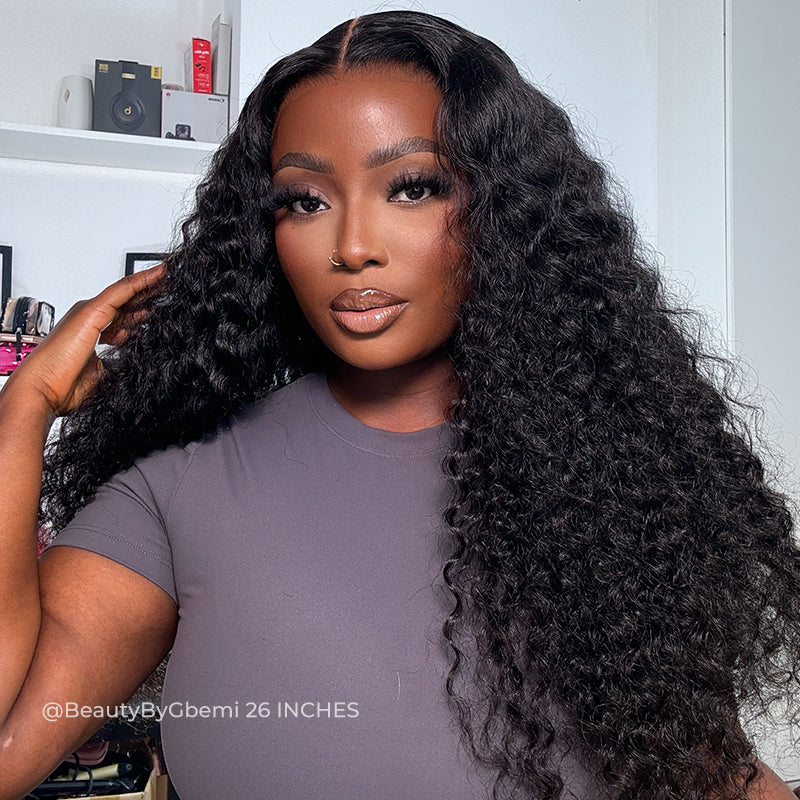
I'm doing a step by step detailed process of how to make a wig for a beginner by hand sewing or machine sewing method. You can use a lace frontal or a closure with 3 to 4 bundles, we are going to be using a frontal and 4 bundles to create a custom wig.
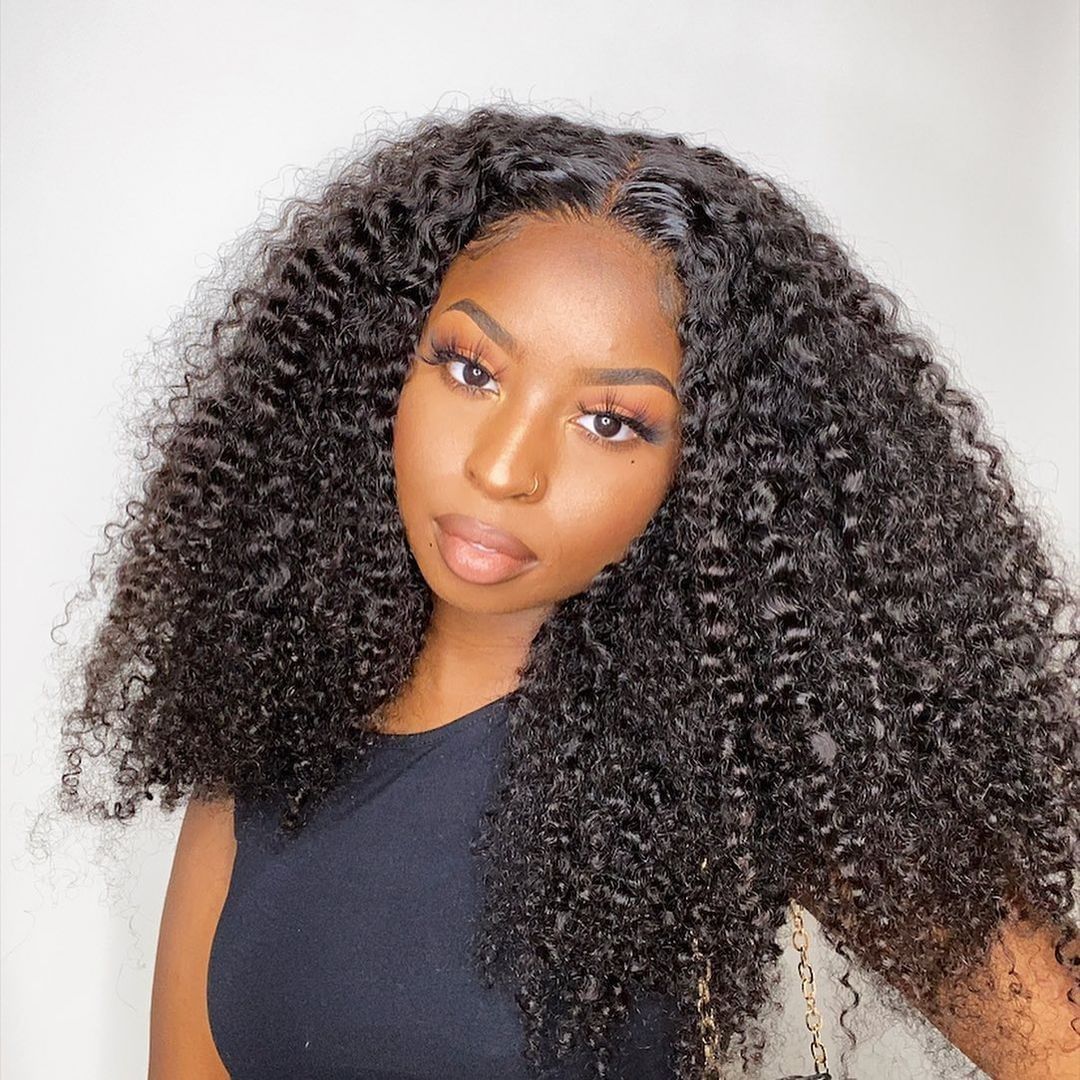
Thing You Need To Make A wig
Prepare a lace frontal or a closure, pairing with 3 to 4 hair bundles to make a wig.
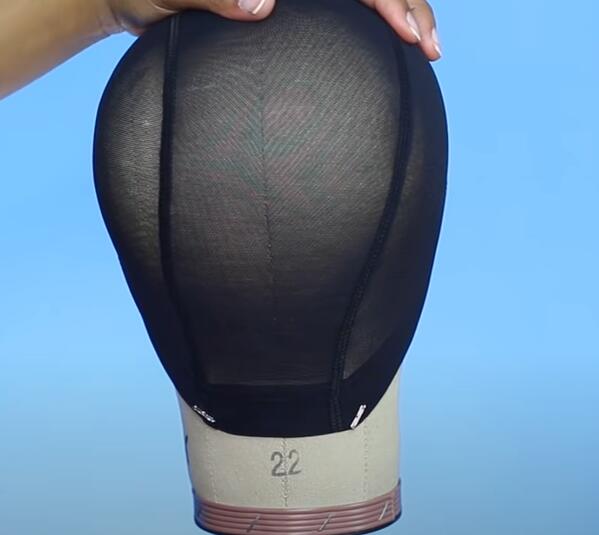
Next you will need your wig cap, I recommend use a mesh dome cap if you are a beginner.
You will also need a marker. A white or metallic marker that will show up on the dome cap.
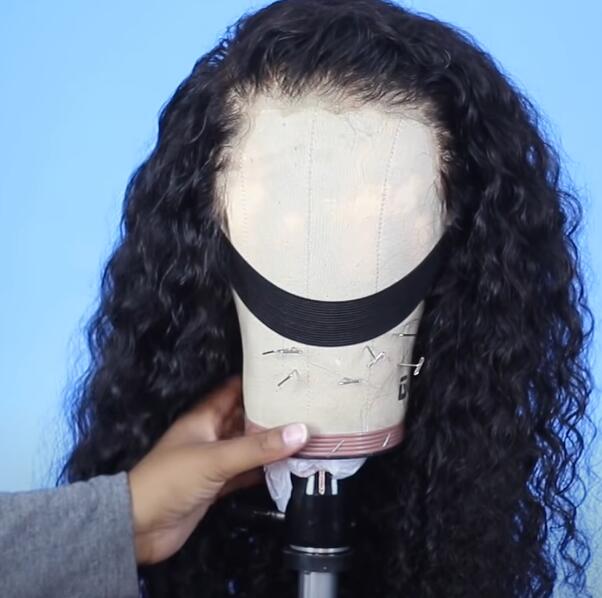
You will also need a mannequin head. I do recommend a canvas mannequin head, just makes wig making easier. They come in different sizes and inches based of your own head measurements.
You also need a needle and thread. If you are here to make one by sewing machine, you will use the needle and thread that comes with your machine. And if you are making one by hand, you need a curved tip needle, it goes without saying.
You also need scissors, to cut bundles and thread.
You will also need t-pins, to help aid you in the construction of your wig.
How To Make A Wig Step By Step
1. First thing you want to do is place the dome cap on to the mannequin head. you want to make sure that it is centered. And then you're going to use two t-pins to pin down the nape of the cap to mimic the hairline of your nape.
2. Next you want to start the foundation for your wig.
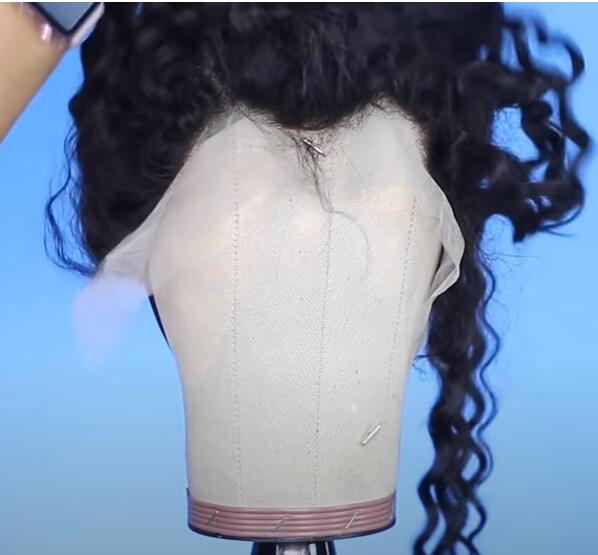
Place your frontal or closure and pin it down.
So you are going to center your frontal or your closure on top of the mannequin head on top of the dome cap. Then you are going to begin to pin it down, so you want the front of the closure or the frontal about 1/4 of an inch in front of the dome cap. After you pin the center pinning, the sides should be very easily. The only thing you need to do is just pin them straight down, so the end of the closure should be pinned right at the end of the mesh dome cap.
Trace the outline onto the cap.
This is where either your metallic marker or your white marker comes into play. So using the sharpie and basically what you want to do is just trace the outline of either your closure or your frontal onto the mesh dome cap. After you've done that, then you want to draw the foundation for laying your wefts. Try to make drawing line as straight as possible.
If you are using a sewing machine for this method, I would suggest making the lines about a finger width apart. If you are sewing them by hand, I would make them a little bit closer together, maybe like a pinky finger apart.
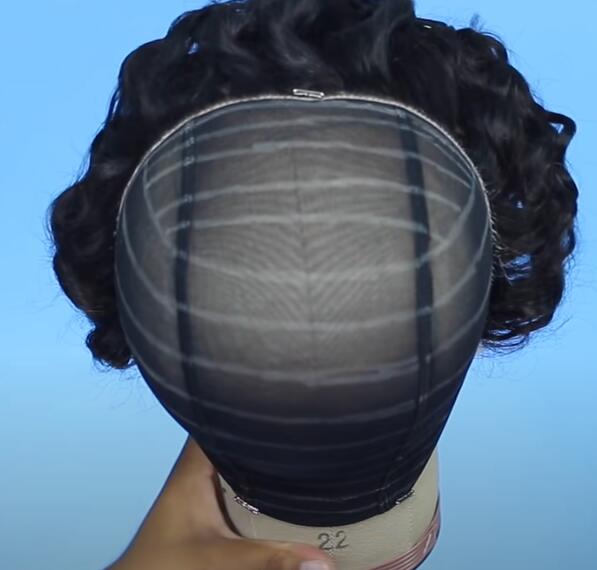
You also want to keep in mind how many bundles you are using. Of course if you are trying to fit four or five bundles, you want the lines way closer together. If you are only doing two or three bundles, you want the lines further apart.
If you are using a closure instead of a frontal, you want to do the exact same thing, and you just continue to make your lines curved around the closure at the crown of the head. so this is what your foundation should look like.
Hand sewing in weave to make a wig
Now we are going to get into how to hand sew.
First, you need some thread and tie a knot. Cut around an arm's length of thread and then you want to thread one end of the thread through the curved tip needle. Like so you want to even out the thread. so you can begin to make the knot that will be at the end. And what I'm going to do is do this twice, so that it is nice and secure.
When sewing by hand you want to line the weft up with the lines on the mesh dome cap. You want to put the needle through the dome cap, and then you want to put the needle through the track. So after you put it through, then you are going to feed the needle through the hole of the thread. And this is going to create a more secure start by creating a knot at the beginning of the weft.
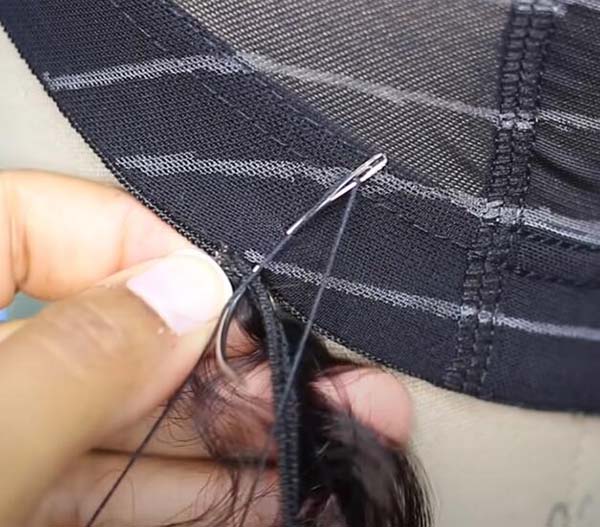
As you continue to sew the weft on. Two things are important, you want to go through the mesh dome cap but around the track, and then when you are bringing the needle through you want to bring it through the loop of the thread on the left. This is important because you want to go around the track to preserve the longevity of the weft. And you want to make sure you're bringing that needle through the loop of thread, because that is going to create a more secure and strong sewing pattern.
So once you get to the end of your track, you are once again going to go through the weft. So first, you want to go through the dome cap, then you want to go through the weft, then you want to create a knot, the way that I do that is you're going to wrap the thread around your needle two to three times. And then once you pull the needle through, you will pull it tight and pull it taut and it creates a natural knot.
And once you finish with that, you can cut the end of the thread, and then you can cut the end of the track, and start over again. So at this point you have successfully hand-sewn a track onto your mesh dome cap, and you would just continue to repeat the process until your wig is finished.
Machine method sewing into a wig
So now we're going to get into the sewing machine method. If you do not know how to operate a sewing machine, I suggest you learn how to do that first. One of the first and most important steps for creating a wig with the sewing machine is doubling your wefts.
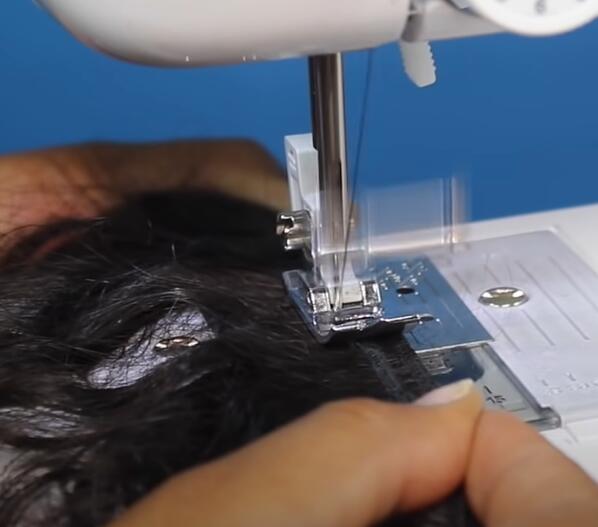
On your mesh dome cap for this part you want to use a zig-zag pattern. and then you're going to begin to sew. You want to do this all the way to the end of the weft, and you want to do this for all of your bundles.

So the first step that you want to do is line up the mesh dome cap underneath the presser foot. and then you want to grab your weft and you want to line that on top of your tracing line underneath the presser foot. Once you have everything aligned you want to put your presser foot down, and then you're going to begin the sewing process.
Just keep that in mind while sewing the weft on, you want to let the speed of the sewing machine guide you, you can provide a little bit of tension. But you don't want to pull or stretch the cap because that will cause a shrinking. You also want to make sure that you are pausing, ensuring that your weft is still completely aligned.
And that you are following the foundation that you drew with your tricks, and once get to the end, sew all the way through, and then use the reverse to do a little bit of reverse sewing just to make the end more secure, and then just cut the weft. And then with the sewing machine, after you cut the wefts, you also have to cut the thread. So you can use your thread cutter on the side of your sewing machine or you can use scissors.
Once you've got all your weft sewn on either by machine or by hand, then it's time to move back to your frontal or your closure.
Sewing in frontal or closure
You are going to put your wig on your mannequin head, and then you're going to pin down either your frontal or your closure. So you can hand sew this on when sewing down your front or your closure, you want to use the same technique as showed when you're sewing your weft on.
So initially you want to go through the end of the frontal or the closure, and you want to go through the mesh dome cap. You then want to pull the needle through the thread to create that secure start of your sewing. As you continue to sew down the frontal or the closure, you want to go through the end of the frontal or the closure. And you still want to send that needle through that hole of the thread, so that it creates a secure base. When you are sewing, you also want to go through the mesh dome cap as well, so please do not forget that. You want to stitch close together, so that it is very secure.
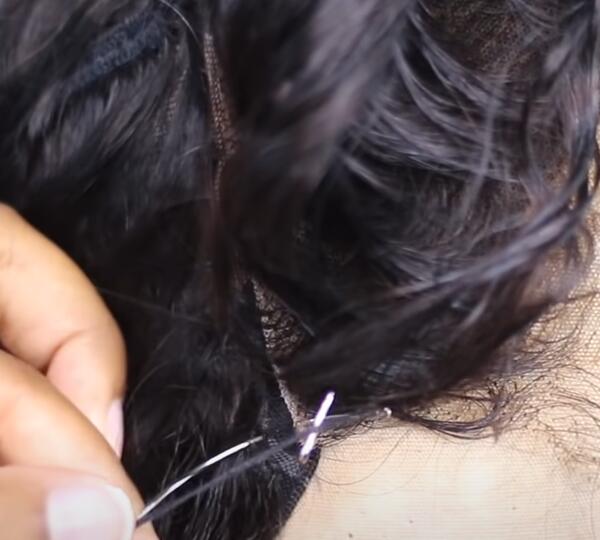
And you were to continue to sew all the way around until you are finished. So this is the end of sewing a machine made wig.
Whether sewing in by hand or machine method, they both will look nice and neat. If you want to do a glueless unit, you can add it with an elastic band. This is step by step making a wig like a pro for beginners hand sewn and sewing machine method.


 {{ wordsItem.word }}


 {{ item.rate }}


